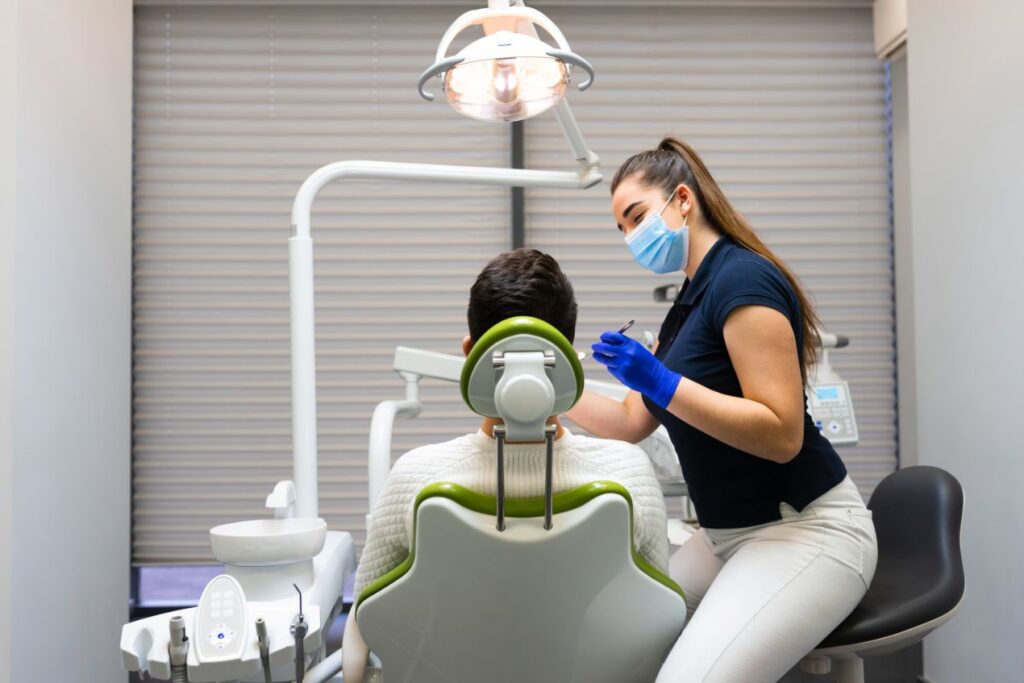
In the world of cosmetic dentistry, achieving the perfect smile is an art form. One of the essential tools in a dentist’s toolkit for creating flawless smiles is opaque pink composite. This versatile material can be used for various applications, from masking discolored or damaged teeth to creating lifelike restorations. In this ultimate guide, we will delve into the nuances of applying opaque pink composite to help you master this technique and enhance your patients’ smiles.
Understanding Opaque Pink Composite
Opaque pink composite is a dental material specifically designed to mask the underlying tooth color and create a natural, aesthetically pleasing appearance. It is commonly used in cases where teeth have severe discoloration, are fractured, or require significant reshaping. Opaque pink composite provides excellent opacity, allowing it to cover underlying imperfections effectively.
Tools and Materials
Before you begin applying opaque pink composite, ensure you have the following tools and materials on hand:
- Opaque Pink Composite Resin
- Bonding Agent
- Shade Guide
- Dental Handpiece
- Rubber Dam
- Etchant
- Light Curing Unit
- Composite Instruments
- High-Speed Handpiece
- Finishing and Polishing Instruments
- Articulating Paper and Strips
Step-by-Step Application
Now, let’s walk through the step-by-step process of applying opaque pink composite for various dental procedures:
- Diagnosis and Treatment Planning: Begin by conducting a thorough diagnosis and treatment planning. Identify the patient’s aesthetic concerns, and assess the tooth’s condition. Determine the appropriate shade of opaque pink composite to achieve a natural look.
- Preparation: Prepare the tooth by cleaning it and isolating it with a rubber dam. Etch the tooth surface with an etchant, rinse, and apply a bonding agent to promote composite adhesion.
- Shade Selection: Use a shade guide to select the most suitable shade of opaque pink composite resin that matches the patient’s natural teeth. Mix the composite resin accordingly.
- Layering Technique: Apply the opaque pink composite resin in thin layers. Start with the dentin shade and gradually build up to the enamel shade. Ensure that each layer is properly cured with a light curing unit before applying the next one.
- Sculpting and Shaping: Use composite instruments to sculpt and shape the composite material to match the natural contours of the tooth. Pay close attention to creating realistic grooves and surface textures.
- Check Occlusion: Evaluate the patient’s bite using articulating paper and strips to ensure proper occlusion. Make any necessary adjustments to ensure a comfortable and functional bite.
- Final Cure: After achieving the desired shape and occlusion, perform a final cure to harden the composite material fully. Make sure to cure all surfaces and margins adequately.
- Finishing and Polishing: Use finishing and polishing instruments to refine the restoration’s surface. Smooth out any rough spots and create a natural shine that matches the adjacent teeth.
- Bite Adjustment and Patient Feedback: Recheck the patient’s bite and ask for their feedback on the restoration’s appearance and comfort. Make any necessary adjustments to ensure a perfect fit.
- Post-Operative Care and Maintenance: Instruct the patient on proper oral care and maintenance for their newly restored tooth. Advise them to schedule regular check-ups to monitor the restoration’s longevity.
Conclusion
The application of opaque pink composite is a valuable skill for any dental practitioner aiming to provide patients with beautiful and functional smiles. By following this ultimate guide, you can master the technique of applying opaque pink composite and enhance your ability to create lifelike restorations that seamlessly blend with natural teeth. Remember that practice and attention to detail are key to achieving exceptional results in cosmetic dentistry. With dedication and expertise, you can transform your patients’ smiles and boost their confidence in your care.